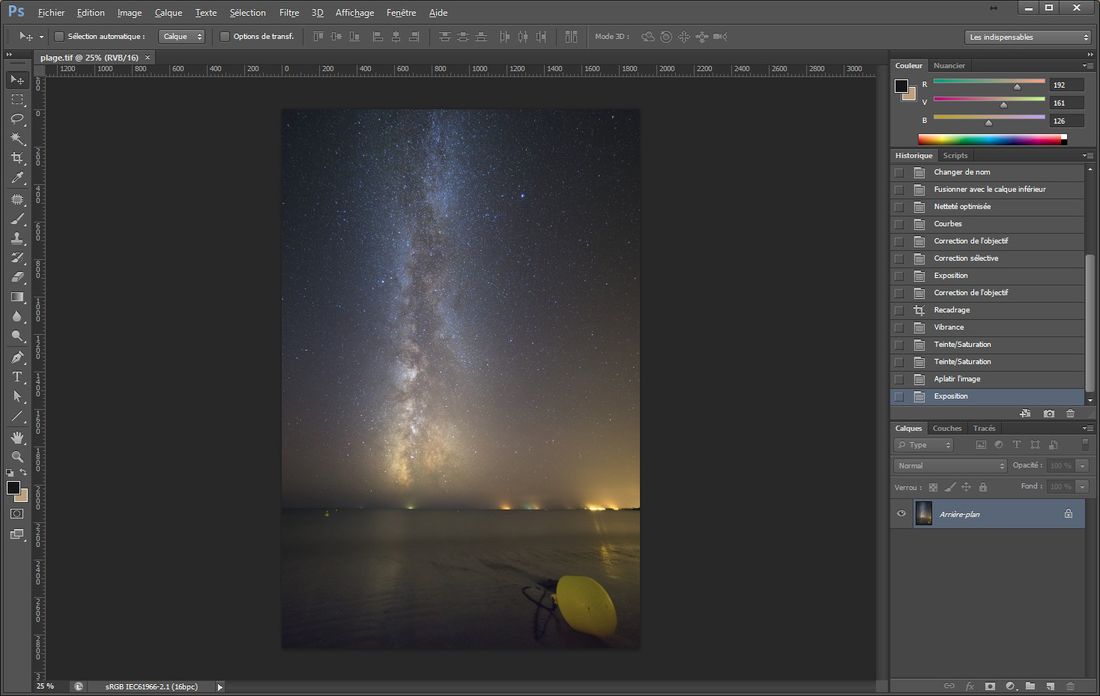
Processing Milky Way images
Introduction
This tutorial describes the processing of Milky Way nightscapes images with Photoshop, Lightroom and Sequator. If you never have photographed the Milky Way, I invite you to read this article first.
The technique described here is especially useful if your sky is polluted or if your camera is not very sensitive. To follow this article, you must have taken a series of identical photos in order to reduce the noise of your Milky Way image.
After a word about the ethics of the astrophotographer, we will proceed in 3 steps:
- Preprocessing in Lightroom.
- Processing in Sequator.
- Final aesthetic processing in Photoshop.
Ethics of the astrophotographer
The technique described in this article raises an ethical problem for the astrophotographer.
By mixing techniques of deep-sky astrophotography (stacking images in order to reduce the noise) and techniques of conventional photography, obtained results can be more like graphics than photography. Indeed, if the dosage is poorly realized, the result can frankly move away from the reality. Unfortunately, more and more astrophotographers push the vice by mixing a stacked Milky Way with a foreground from another image.
These practices lead to a bad image of astrophotography with the public (they are “faked images”).
To avoid that, please:
- Use the technique described in this article wisely (polluted sky, low sensitive DSLR, slow optics, artistic approach…).
- Be honest by specifying that your image is the result of stacked exposures.
- Do not use a foreground that is not located at the same place that your starry sky. Or specify it when you share your image.
- Do not stray from reality.
- Do not over-process your image: a simple processing is often the best.
Personally, I now use very fast optics (eg a 24 mm f/1.4), under a beautiful starry sky. Which involves driving sometimes far from home…
You can also wait for a small crescent of Moon illuminates your foreground…
Preprocessing of images
In astrophotography, the purpose of the preprocessing is to create an image with the least defects as possible (noise, optical aberrations…) using a series of identical images. This image will be then used to for final aesthetic processing (colors, sharpness, etc.). This process is necessary because aesthetic processing can degrade very quickly an image, especially if it has been taken in darkness.
Preprocessing in Lightroom
Locate the series of images you will use to create your final image. On one of your images, correct its luminosity and its optical problems (distortions and especially vignetting).
ATTENTION : do not reduce noise at this step, otherwise you will lose the details of your picture. You will do it at the end of the process, once the aesthetic processing is realized.
Then synchronize these settings with other images of your series (in “Library”: “Sync Param” at the bottom right). Once this done, export your images in TIFF format (do not use JPEG format).
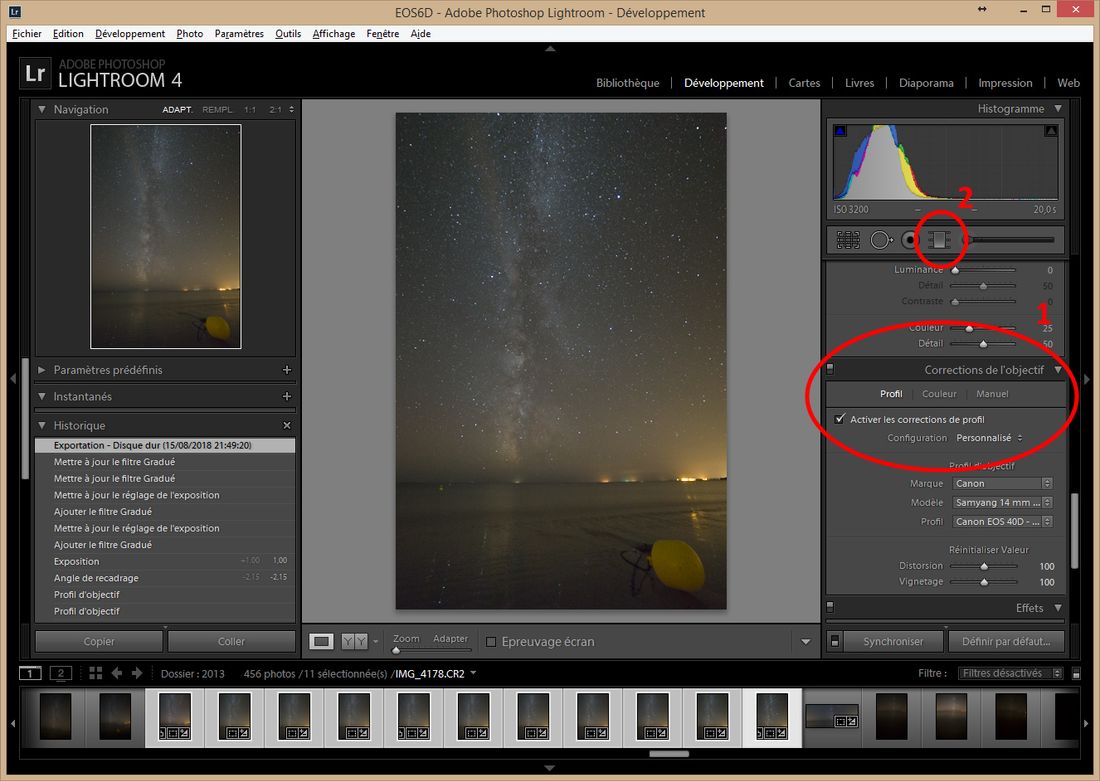
In Sequator
The individual exposures are now rid of their optical defects but they are always noisy. Hence we are going to stack them in order to reduce the noise and to get more possibilities during the final processing in Photoshop.
Without diving into the details (reality is more complex), when stacking images you will simulate a longer exposure, so with more signal and less noise. With 3 images of 30 seconds, you will have a result similar to a 1 minute 30 seconds exposure. It will be even better because light pollution will be less, and if you do not have a tracking device, it will allow you to have punctual stars.
I use the same principle in deep-sky astrophotography.
The operations to be made are as follows:
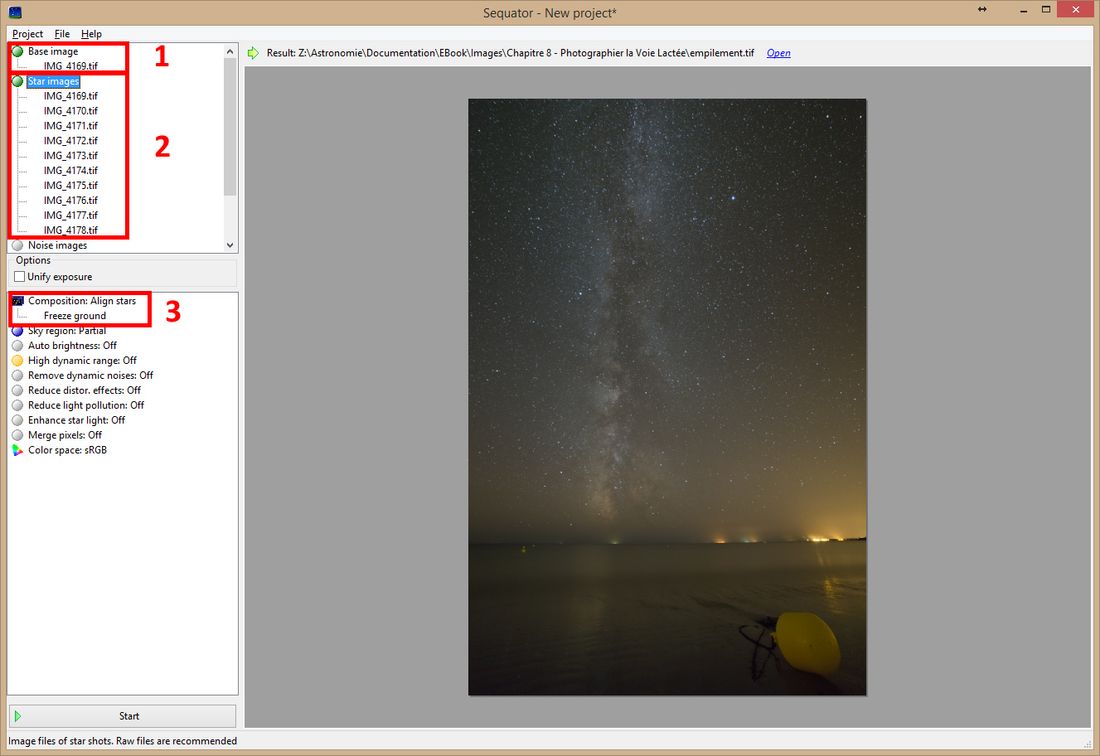
- Download and install the software Sequator (Windows only) that will allow you to stack your exposures. If you work with a Mac, you can use the software Starry Landscape Stacker.
- In the “Base image” section (1), select the first image of your series.
- In the “Star Images” section (2), select all images of your series.
- In the “Composition” section (3), choose the “Freeze ground” method.
We will now tell Sequator where the starry sky is. For this, click on “Sky Region” (1). Choose the “Irregular Mask” option (2), then paint in green the region corresponding to the sky (3). If the brush to paint the starry sky in green is too large, use the “Ctrl + mouse wheel” shortcut.
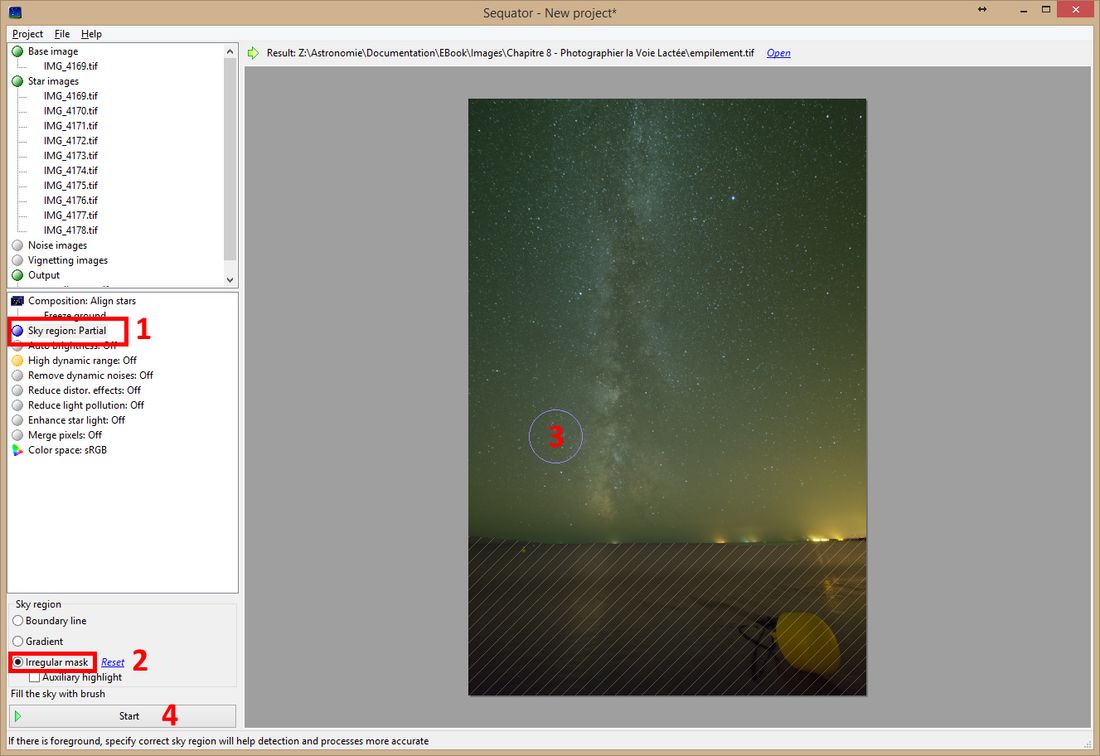
Now start the stack process by clicking on “Start” (4). You will then get an excellent quality “preprocessed” image: it has low noise and it is rid of a majority of your wide angle lens optical defects.
Let’s compare the result before and after:
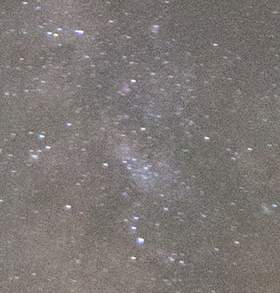
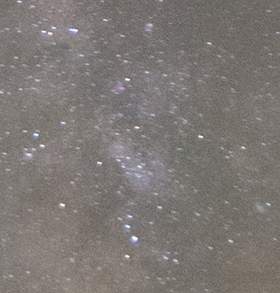
Even if the difference does not seem important, I assure you that it counts hugely to do a quality image processing. What’s more, there is only 1 minute and 30 seconds of total exposure time. Imagine the result with 5 minutes of total exposure time, it is even better!
Processing in Photoshop
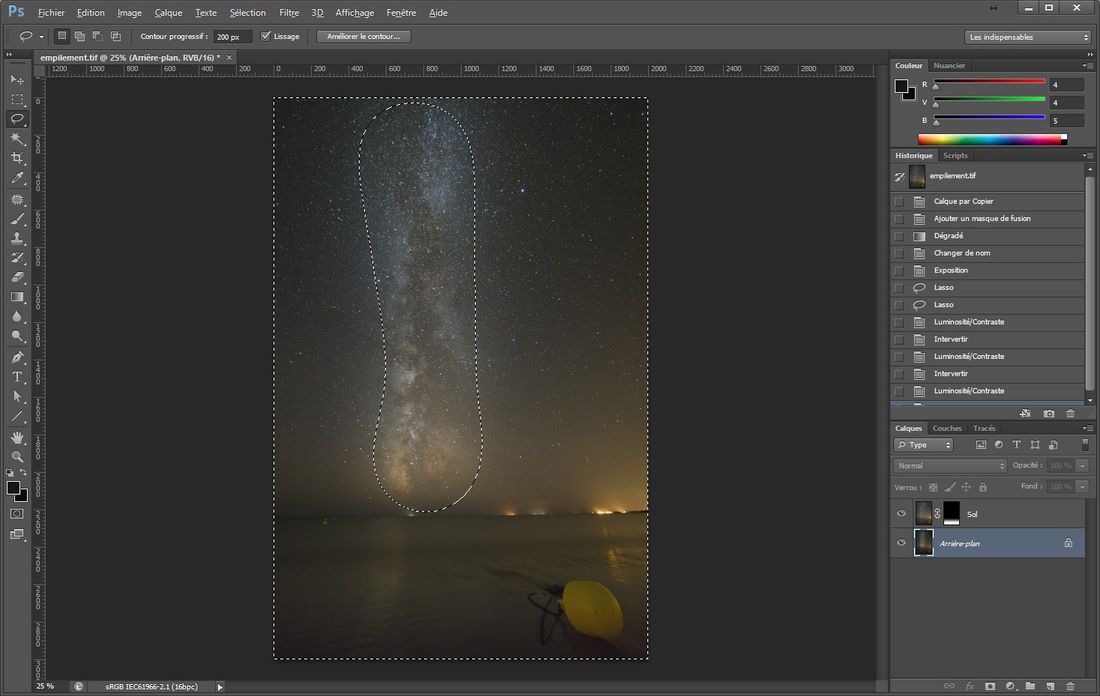
Your turn now! Open in Photoshop the result of the stacking process done with Sequator. Start by separating the foreground and the starry sky with a mask layer. Then, on the layer corresponding to the starry sky:
- Make a selection of the Milky Way using a 200-300 pixels progressive outline using the “Lasso” tool.
- Increase the brightness and contrast of the Milky Way.
- Invert the selection using the “Ctrl + Shift + I” keyboard shortcut. The selection contains now the starry sky without the Milky Way.
- Lower the brightness and increase the contrast of this selection.
Next:
- Give a slight blue dominant to your image if necessary using the color balance adjustment tool.
- Increase exposure and saturation of your image.
- Perhaps add a little “artistic” vignetting (“Filter” menu then “Lens correction”) to focus the viewer’s attention on the Milky Way.
- Increase the brightness and saturation of the galactic bulb by selecting it using a lasso with an important progressive outline (200 pixels for example).
- Complete your work adding a slight touch of sharpness (“Filter” menu and “Optimized sharpness”).
Finally, last tip, once your image is finished, do not share it immediately. Come back to it a few hours later. You will probably find some problems to correct…
I manage to the following result:
