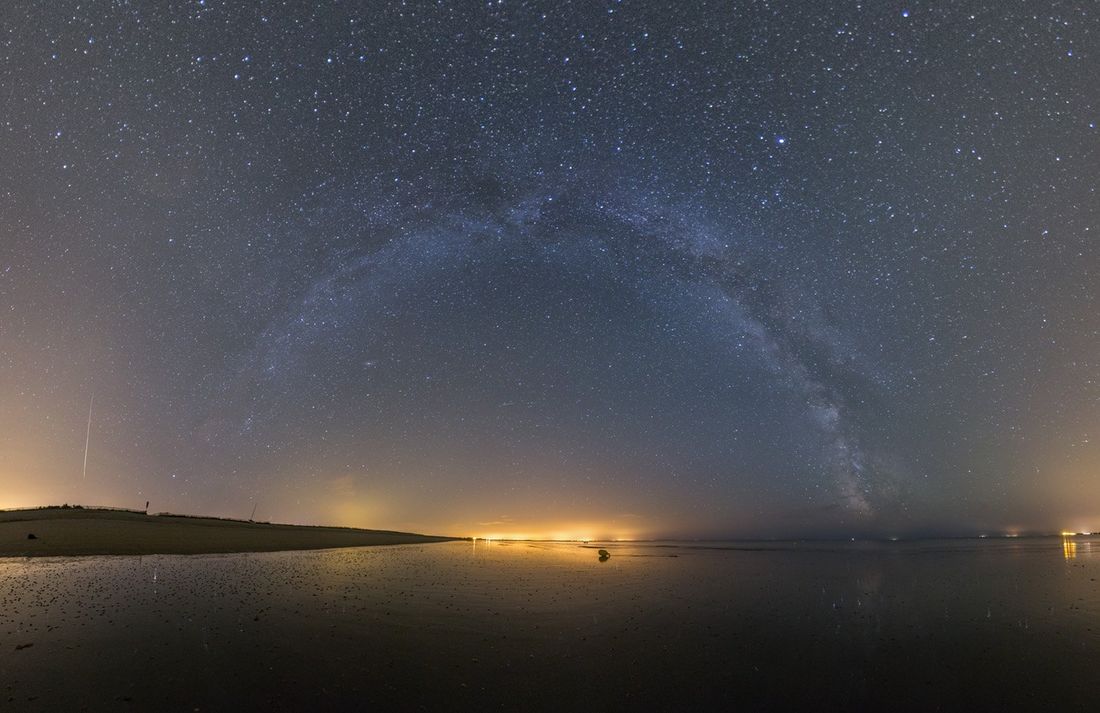
Photographing the Milky Way arch
Principles
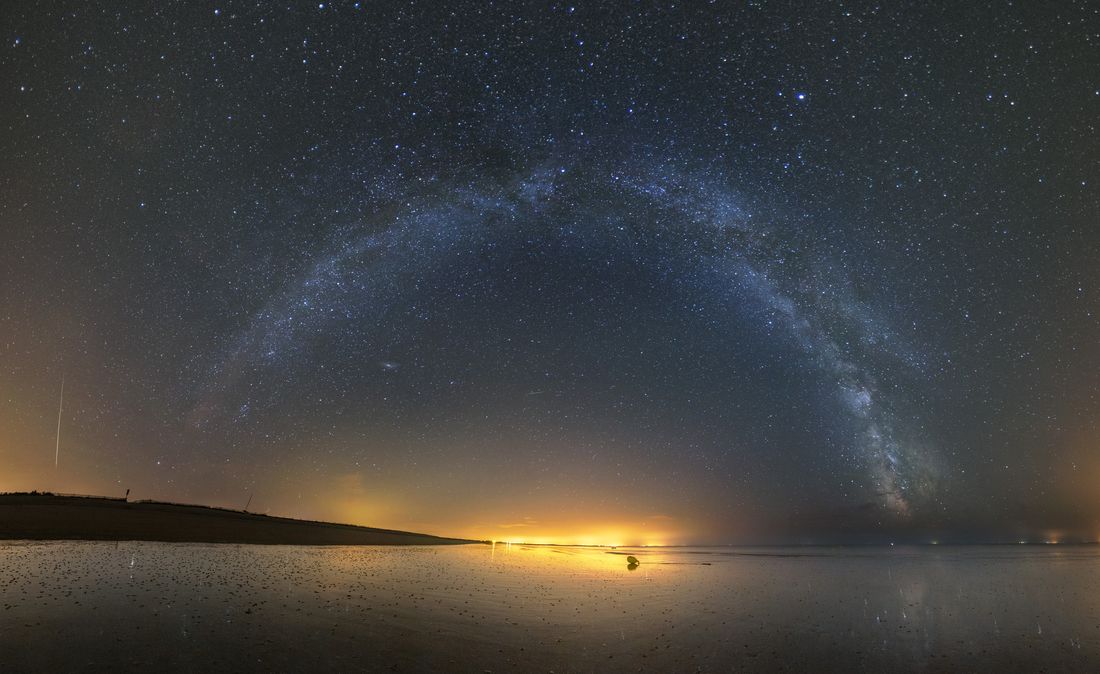
The photographs of the Milky Way arch are panoramic images of the starry sky. The surface they cover is vast: from the south to the north, from the ground at the zenith. Therefore, they are composed of many photos (sometimes several dozens). After assembling, they are processed with an image editing software to get the desired result.
Equipment
You must use a wide angle lens and a panoramic head, indispensable to create panoramics composed of many individual images. I use a Bushman Gobi panoramic head that is very light and very compact.
When?
The Milky Way must be high in the sky so that it is clearly visible on the images. That is to say from May at the end of the night until the end of September at the beginning of the night.
Note that the Milky Way must not be too high in the sky (between 60° and 80°): it will will facilitate the assembly of the panoramic (there will be less deformations of the arch).
Where?
You must preferably find a place with no light pollution on the northern horizon and on the southern horizon. Such places have become too rare in Europe. Mountainous massifs are ideal, provided you climb on the heights. Help yourself with light pollution maps.
Shooting
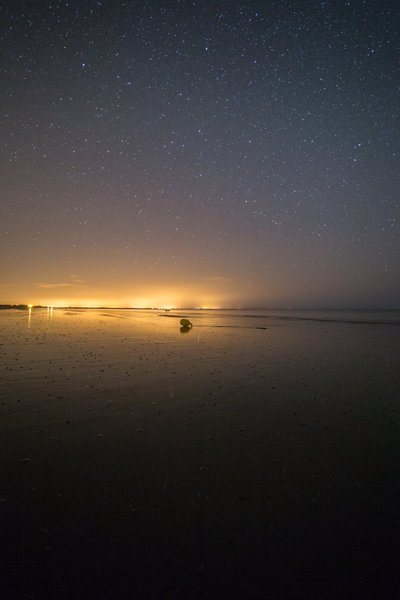
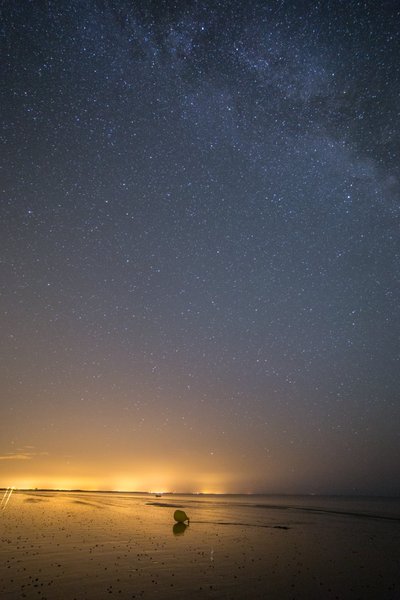
To create the panoramic image, you must take several rows of photos (depending of the focal length you use) from the ground at the zenith. Start with shots of the ground, then ground and sky, then finish by the zenith (some pictures will suffice). Do not change neither the focal length nor the settings of your lens.
Before starting shooting:
- Check that your tripod is (roughly) at level.
- If there are luminous places in the panorama (light pollution), check that your settings does not overexpose them.
- NB: the shooting technique of each photo of the panorama is described in the article “Photograph the Milky Way”.
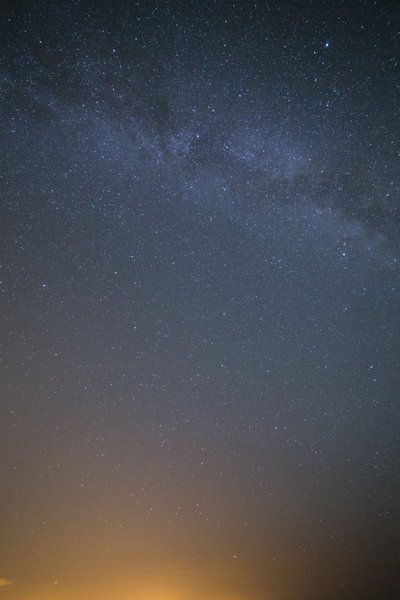
Preprocessing in Lightroom
Process all your photos in Lightroom using the same settings: on one of your photos, correct the exposure and the optical defects (distortions and especially vignetting). Then synchronize these settings with the other photos of your series (in “Library”: “Sync Param” at the bottom right).
Be careful: do not reduce noise at this step to not lose details. You will do it after the final aesthetic processing is done.
Finally export your images in TIFF format.
Panorama stitching
Merge your panorama with Ptgui (or other equivalent software like Autopano or Microsoft ICE). If it is not properly merged, you will need to help the software. Add control points manually, or Automatically (“Control Points > Generate Control Points”).
Once the panoramic assembled, the zenith stars may be crushed by the default projection used. You may have to change it. In the panorama settings, try for example the “Mercator” projection.
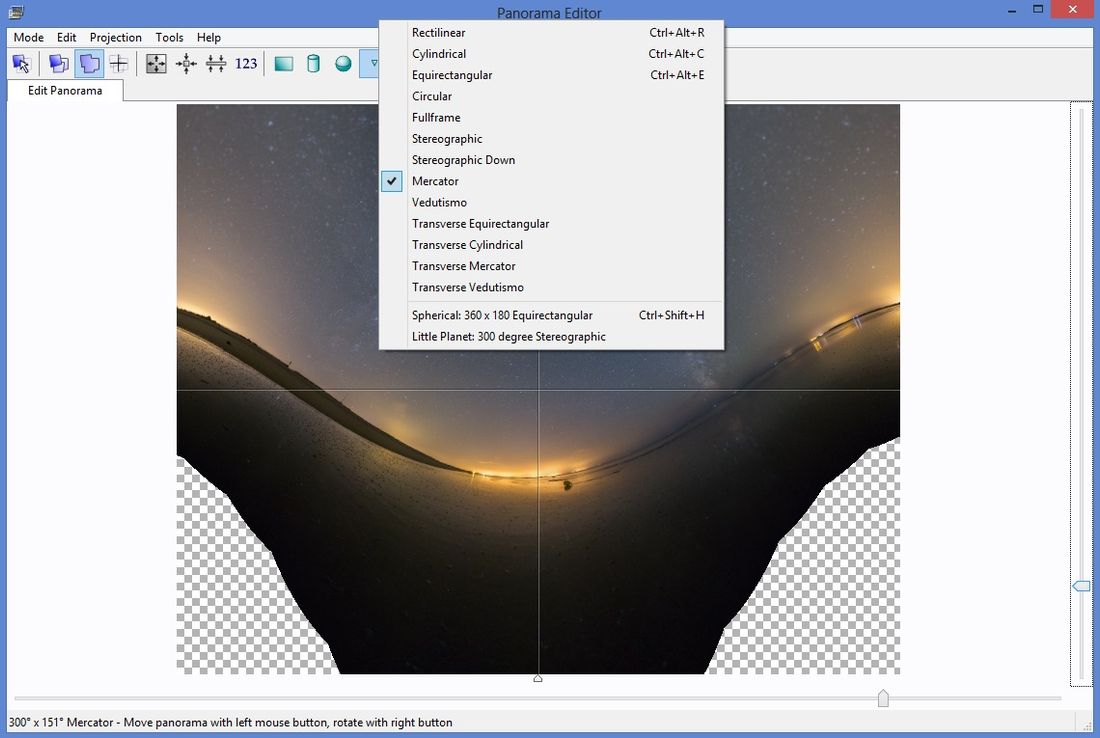
Finally save your panoramic image. If elements do not appear as you wish (ex: meteorite or a character), it is possible to export the panorama as a PSD file for Photoshop (with one layer for each image). You will be able to reveal the desired items using layer masks.
Finish with Photoshop
We will use Photoshop to straighten our image (if necessary). Open The image, then crop it to remove edges that are too distorted.
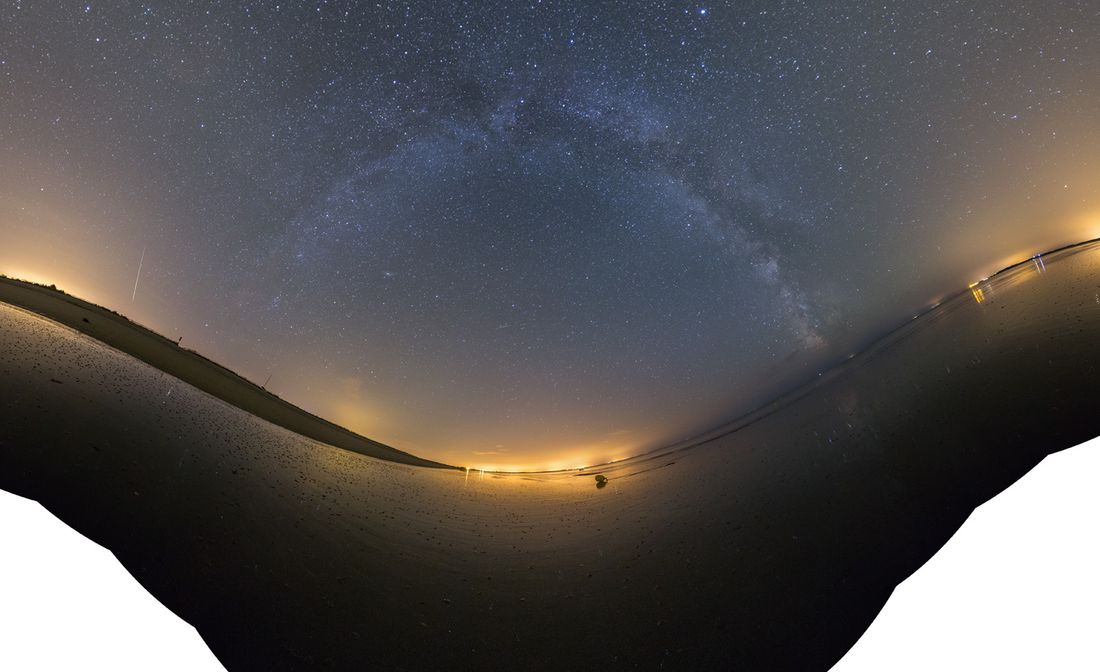
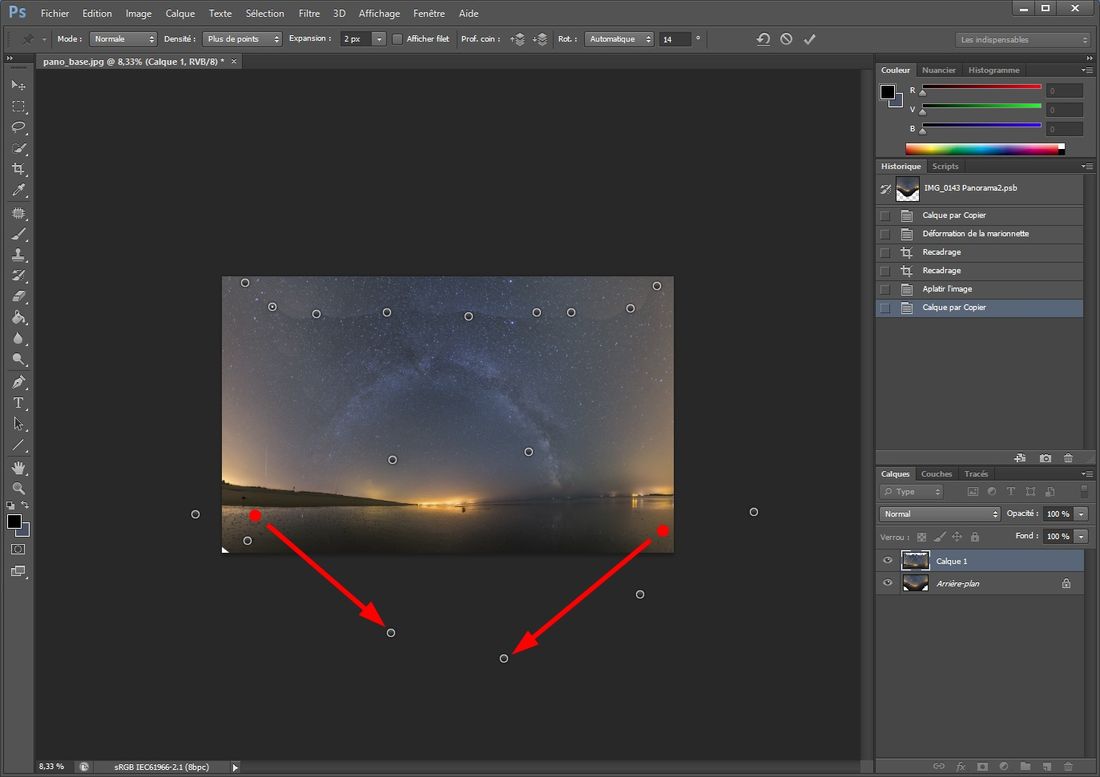
Straighten the panoramic image can be a delicate step. Go in the “Edit > Muppet transform” (CS5 versions and above). Duplicate the background layer (Ctrl + J) on a new layer, and position 4 points at the 4 corners of the layer. Then pull the 2 points from the bottom as shown on the image below. Complete the recovery by positioning using other points.
Crop, and you will get a ready image for final aesthetics processing!
