Photographing the northern lights
Preamble
To achieve good photographic results, it is essential to fully understand the phenomenon. I therefore invite you to read these 2 articles:
- Understanding the northern lights.
- Northern lights observation guide (preparing the trip, solar storm forecasts reading, useful links…).
How to equip yourself?
Photographing the auroras is a static activity: you don’t move much for several hours. You will not enjoy the show if the cold wins you too quickly. You need to equip yourself warmer than a regular observer who will go to bed earlier or who will go home more frequently to warm up.
Body
A good ski equipment is enough. In case of intense cold, you will multiply the layers: ski underwear, various fleeces, hot ski pants…
Extremities
Invest to cover the extremities of your body, this is where the greatest heat loss happens.
- Head: invest in a big beanie or a chapka.
- Hands: protected by a pair of warm mittens, or ski gloves covered with over-gloves in which you will put a heater. You can also take under gloves: they will protect you from the cold when you take off your gloves to handle your camera.
- Feet: this is where you will feel the cold invade you. Avoid summer hike shoes: they are not hot enough and they will not protect you against the very cold snow moisture. Invest instead in a good pair of après-ski, or better, in a pair of Sorel Caribou.
Other accessories
Always carry with you a pair of crampons (sold for ten euros in supermarkets): they will avoid you slips and bad falls if there is ice on the ground (it can be hidden under the snow).
Take a few heaters (hands and feet above all). Avoid rechargeable heaters in water boiling. You will forget to recharge them and they are not very comfortable (they can be very hard). Disposable models will do just fine.
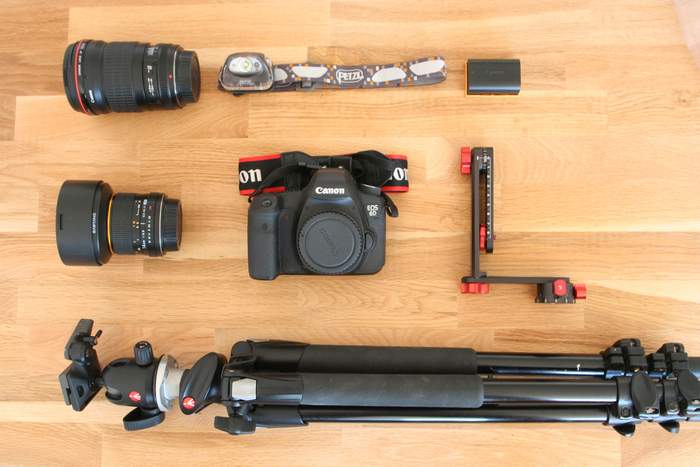
Finally, do not forget a headlamp. Choose one with red lighting to keep your night vision and not dazzle your observation mates.
Photographic equipment
Which camera to choose?
Any camera capable of long exposures can do the job. But for this very demanding subject, a DSLR or an hybrid camera will be more efficient because often less noisy in high sensitivities. Don’t worry about the cold, electronics generally love it: I cool down my CCD cameras for astrophotography at -30°.
Which lens to choose?
A wide angle lens is ideal. Considering the speed of the subject, your lens should open at f/2.8. A lens at f/4 may be suitable, but the aurora’s streaks will not be captured: you will have to do longer exposures to compensate the lack of luminosity of the lens.
Memory cards
Use memory cards with sufficient capacity (16 GB minimum, depending on your sensor (20 MP for the 6D)). You will indeed take many, many photos if the night is intense. For example, I took almost 400 photos on the night of the solar storm of 03/18/2015 (Kp 8.88 / 9).
What accessories?
A tripod is essential, as well as a remote controller not to vibrate the camera during shuttering (use the self-timer otherwise). For panoramics, a panoramic head will be useful. Of course, do not forget a second battery, your headlamp (with red lighting). Finally, cover yourself well, the temperatures can drop well below 0, especially in Lapland or Iceland.

Preparation of your photographic night
Before leaving for an observation night:
- Check your batteries.
- Take hot drinks if the night will be long.
- Check your memory cards: you must have sufficient space on them, especially if the night will be intense.
- Check the weather forecast with your smartphone (see article “Northern lights observation guide”).
- Check the Kp forecast for the night (see article “Northern lights observation guide”).
Important: after the night, immediately charge your batteries to be ready for the next morning and the next night.
What to do during the night?
Stay alert from approximately 7 p.m. until at least midnight: an important activity can occur at this time because you will be at the heart of the auroral oval.
There will be several shockwaves: the aurora will lose its activity, then will get back some. Tell you that the auroras are capricious: you just have to want to go to bed because there is no more activity so that the auroras wakes up… Also, in case of strong solar storm, it may happen that the aurora is visible while the Sun has just set (it may still be daylight), until very late at night. One time I observed an aurora at dawn in Iceland around 5.30 p.m. which ended around 5 a.m.!
If the cold hits you, take a break to warm up during low auroral activity: have a hot drink, get moving, put your hands under your armpits.
After your night…
When you come back home:
- Leave your camera in your bag. It will warm up very slowly. This will avoid a thermal shock which could damage it. It will also prevent fogging of your lenses.
- Immediately charge your batteries to be ready the next morning (for your vacation day) and for the next observation night.
Where to go?
All regions below the auroral circle are ideal (i.e. 60° - 70° north approximately). For beautiful images, you will have to move away from the cities and their light pollution. In normal activity, the aurora will appear on the northern horizon, from west to east, or at the zenith. So make sure at least a few of these horizons are far from any major city. Use a software like Google Maps.
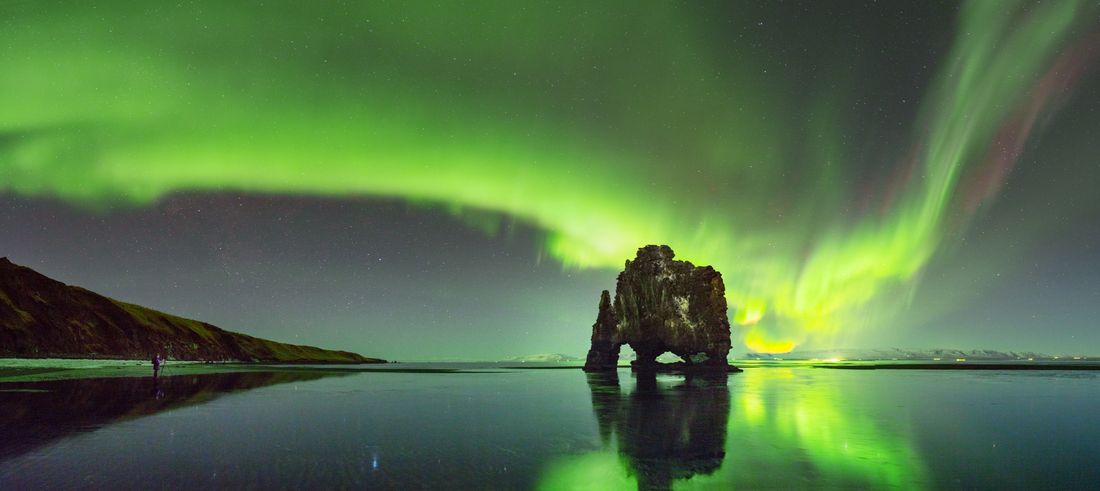
In Norway, the ideal is to find a beach facing north: this horizon will be free of light pollution. In addition, the green of the aurora will reflect on the water.
Warning: find your photographic spot during daytime to check the way: at night the snow will block visibility and you can quickly be snow-covered or blocked by ice. Check for nighttime temperatures: in Lapland they can drop below -30°, which corresponds to the freezing temperature of the arctic diesel (-32°). You may not be able to restart your car when coming back home… Finally, stay on the road. If you take a path by car you can quickly find yourself unable to turn around because of the snow. Rather, go on foot.
Shooting
What settings?
Make sure your camera is in RAW mode. Otherwise, the compression of the images will destroy the fainter stars and your photo will lose details. You will also lose your sensor dynamic range (the images are encoded on 12 or 14 bits in RAW, against 8 bits in JPEG). It is essential to be able to use all your sensor’s dynamic range because the luminous intensities of the auroras can vary very strongly.
Open your lens at maximum if it opens at f/2.8. For lenses that opens at f/1.4 for example, you can close it a bit: focusing will be easier and you will have less vignetting. I close my Samyang 24mm f/1.4 to f/2.2.
Then use a good ISO setting: on my EOS 6D, I remain most of the time at ISO 1600.
Last adjustment: the exposure time. As northern lights can be very bright, and are either slow or fast, the exposure time to use can vary. From 2 seconds to avoid overexposure up to more than 10 seconds. The general idea is to freeze the aurora’s streaks, without having too much noise.
How to focus?
The best way is to target a brilliant star and magnify it at maximum using the LiveView. Then do the focus manually: the star must become as small as possible. Be careful if you use a very fast optics: the focus is very delicate and there is a risk for your photo to be blurred. Also, the “infinite” position of your lense is rarely the good adjustment.
During the night, you will handle your camera very frequently because the auroras move all the time in the sky; the shiny parts are therefore never in the same place. So check your focus very regularly, especially if you have a very fast lens.
If you wish to have a sharp foreground:
- Focus on the foreground using a flashlight.
- Choose optics with a short focal length (i.e. 14 mm) to have both a sharp foreground and a sharp aurora (the hyperfocal distance is between 2 and 3 meters for a 14 mm lens at f/2.8, compared to about 13 meters for a 24 mm lens at f/1.4).
Composition
Always connect the starry sky and the Earth: include at least one terrestrial element in your composition. And of course, apply the elementary photographic composition rules (rule of thirds, lines of forces, etc.).

Make a timelapse
Once you found your settings for the evening, you can make a timelapse to get a nice souvenir of your aurora. Put your device in burst mode, and lock it with your remote controller for a long time. While your device is running on its own, you can enjoy the show.
The transformation into video is then carried out with software such as Virtual Dub. Some plugins like MSU Motion Estimation are able to calculate interpolation frames, which will allow to slow down the film. You will thus recover the speed of your aurora. I used this technique for the timelapse below, taken in 2013:
Make a panoramic image
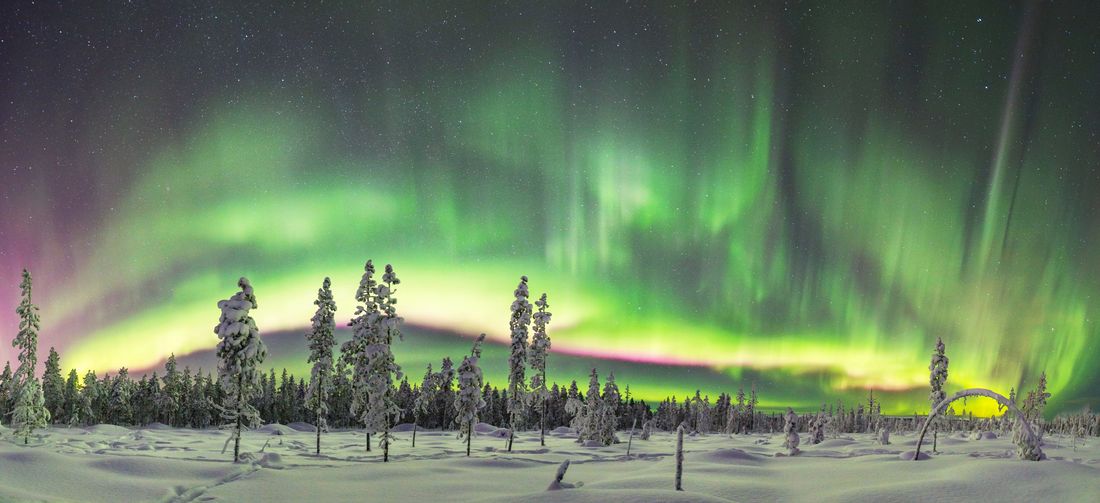
To take a quality panoramic image, you must be equipped with a panoramic head. During shooting, be careful not to no “clic” the base during rotation (release the brakes), otherwise your camera will vibrate. You must chain the single shots of the panoramic very quickly because the aurora is moving. You will not have time to wait your camera stabilizes.
Be careful:
- In case of a very fast northern light, the assembly of the panoramic will be impossible.
- Making a panoramic image requires some horizons to be almost virgin of light pollution. So be demanding during spotting.
The processing of the panoramic image will then be similar to the technique used to create a Milky Way arch. See this article: Photographing the Milky Way arch.
Make a video
The latest generation cameras (like the Sony Alpha 7s series) are now able of filming the northern lights in real time. Having never experienced this discipline before, I invite you to have a look to the work of some specialists like the excellent Stéphane Vetter.
Forget your camera… !
The first time I saw a northern light, I rushed on my camera. The aurora was moving with incredible speed. The time to deploy the tripod, take the camera out of the bag, make the settings… and the aurora was over. I was however prepared in less than 5 minutes. I didn’t even enjoy my first aurora.
Conclusion: if a fast northern light is happening above your head and if your photographic equipment is not ready, leave it where it is and enjoy the show. The fast phase of an aurora is often very ephemeral.
Finally, try to take pictures as mechanically as possible. Once your composition and your settings are done, launch bursts to enjoy the show. Your photos will allow you to make a timelapse. Some photos will also be better than others because you will have captured this brief moment when the aurora was the most spectacular…

